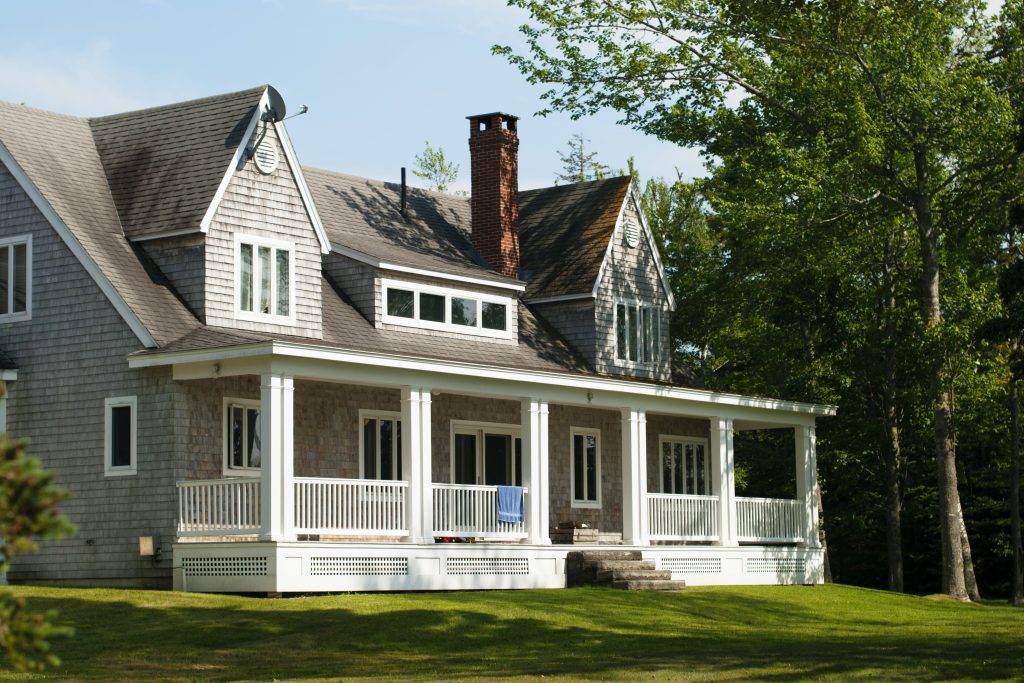
New exterior painting has an amazing touch to the look of your entire house, moreover; it will help you preserve your property value.
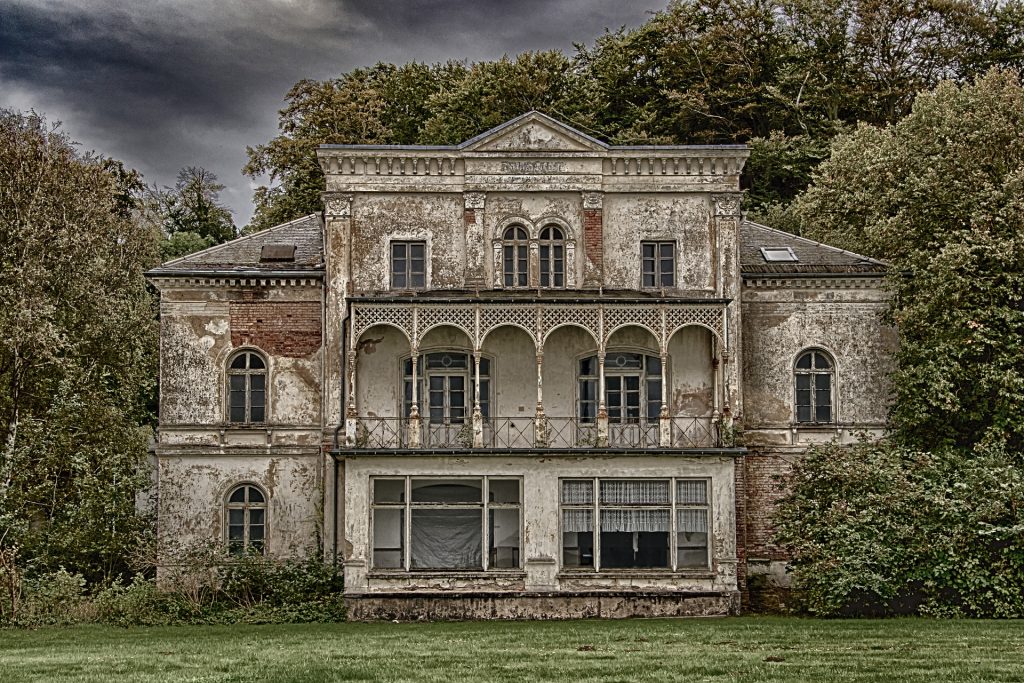
Think of its importance from the different feeling you have when you walk by an old, neglected house, and a new, well taken care of house, you will definitely like the second feeling more, how if it was your own house, that you will enjoy living in daily.
When to do exterior painting?
There is always a better time and circumstances to do a task than other ones, this is right too for exterior painting, in fact; the temperature and humidity control the best time for exterior painting, as the season of the year itself.
- Temperature: on the first hand; low temperature, like lower than 34 F will mean that the paint will not dry.
On the other hand; direct sun on the wall surface will cause the paint to dry in unattractive way, moreover; it will have waves and bumps.
- Season: even so; it is important to do the job in the best season (spring or autumn), but it is also as important to work in the right time of the day, which is between late morning and mid-afternoon, to make our work perfect and easier.
- Humidity: is also a huge factor of exterior painting drying process, for example; if the wall is directly rained on, so it is a bad idea to paint it immediately, due to all the humidity, not in the weather only but, also in the wall.
Choosing the right RH level is important to help the wall dry faster.
In each job, there are specific tools that will make the work not only easier, but also faster.
For an exterior painting job, you will need:
- exterior flat or eggshell paint.
- exterior semigloss paint
- pressure washer
- paint sprayer
- paintbrush
- painter’s tape
- drop cloths
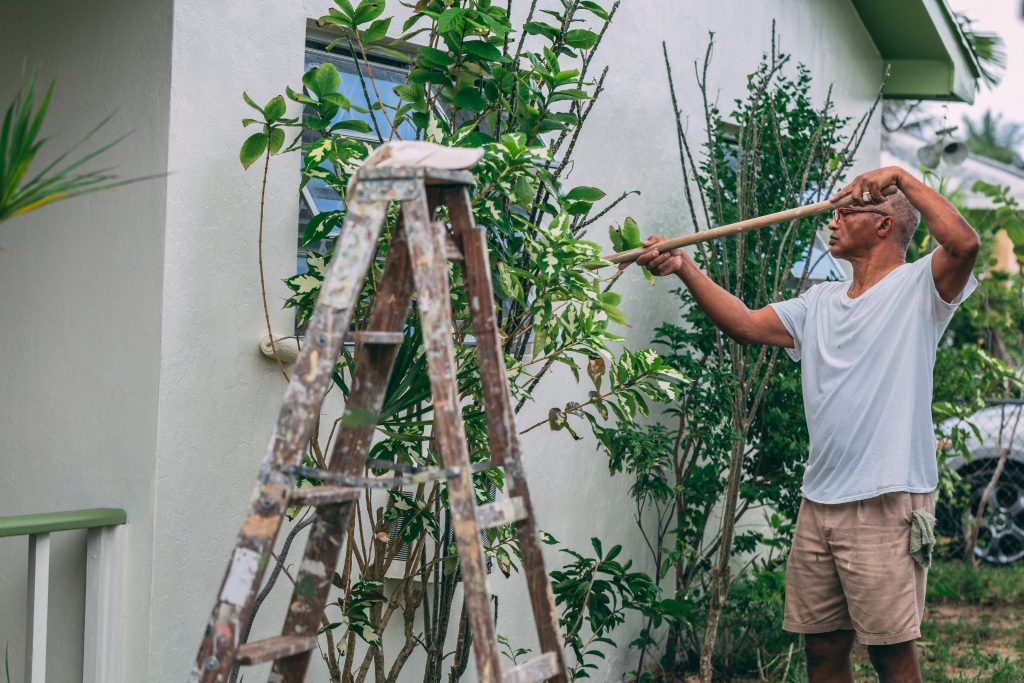
- ladder
- paint scraper
- stain-blocking primer
- epoxy filler
- medium-grit sanding block
- spackle knife
- exterior caulk
- caulk gun
- plastic sheeting
6 Steps into exterior painting:
When planning a job correctly, you will not only be prepared and know what is going on, but also; you will save yourself a huge amount of time.
1. Wash your wall surface:
This essential step helps clear the surface from dust, spiders’ nets, and dirt, moreover; it will make the scraping process easier.Washing can be done with pressure washer, in two steps: firstly, with special soapy solution, then only with water.
2. Fix the damages:
After washing, take an overall look at the wall surface, to see any damages, and fix it before continuing, like; wood loosing, gaps, or any other damages.
Apply epoxy to fill the gaps, furthermore; if any piece need to be replaced this is a good time to do it, such as; wood sider.
3. Scrap old painting:
scraping old exterior painting in order to make the surface clean, without any bumps, and ready to be painted.
By using a paint scraper, and a heat gun, you will be able to remove all of the old painting.
4. Apply primer:
Primer is the used material to protect, seal, and provide a good surface to start painting.
It is better to use close primer colour to the top coat painting, to hide any possible mistakes, the primer type usually based on the wall used materials.
5. Covering:
By using plastic sheets, you can cover up your wall’s lighting, doors, and windows, to protect them from any painting stains.
6. Painting
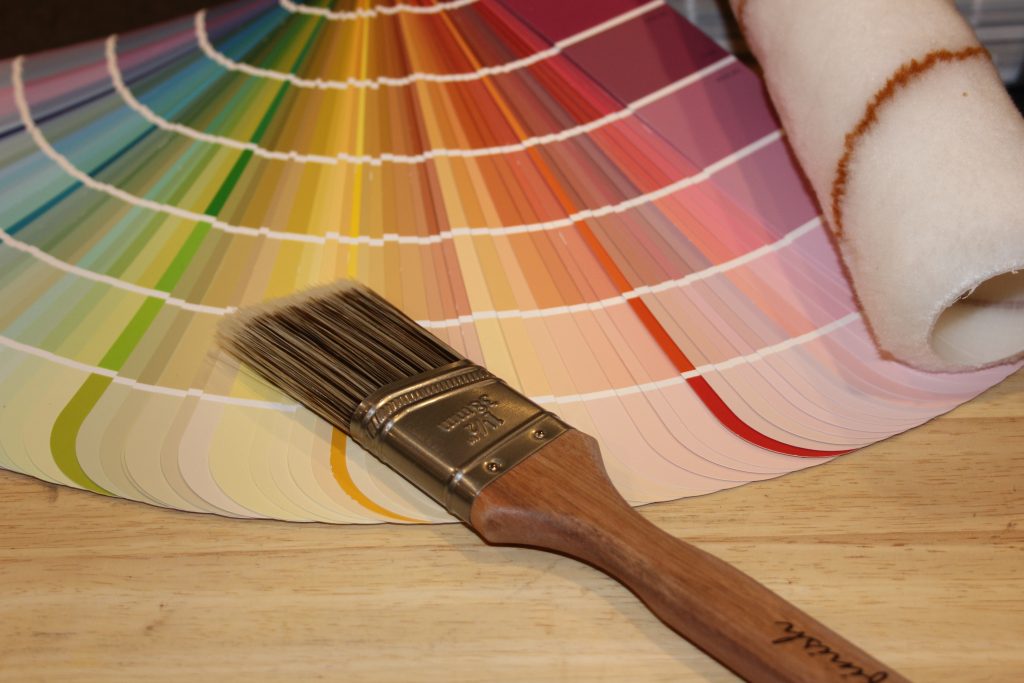
Now; after choosing the right painting type, and the perfect painting colour for your house, you can start painting, whether; you use a brush, or a spray tool.
This is the fun part of applying painting coat, nonetheless; make sure to work from the top down, to have a perfect control of your work.